Halloween 2013 haunted graveyard

I know it’s a bit late for a retrospective on my annual Halloween tradition — the haunted graveyard. But there were a couple additions this year that I thought were worth mentioning, and I have some really excellent photos thanks to the efforts of a good friend so I figured “Better late than never!” For those who haven’t seen my previous articles about the graveyard, let me offer a brief backstory:

After my wife and I inherited her mother’s house several years ago, it became our responsibility to host the annual family Halloween party. Originally the party was intended for my mother-in-law’s adult children and their spouses, but once they started having kids of their own, the party shifted gears. It’s been primarily targeted at the kids as long as I’ve been involved. One of the marquee attractions is the haunted graveyard, where our backyard is transformed from a normal suburban plot into a spooky graveyard replete with zombies, ghosts and other monsters. As the man of the house, and because I have a bit of a macabre streak, it falls to me to design and … execute … the decorations. Every year the graveyard gets a little bit more elaborate as I snatch up more characters at the post-Halloween sales and devise better layouts and designs for the graveyard.

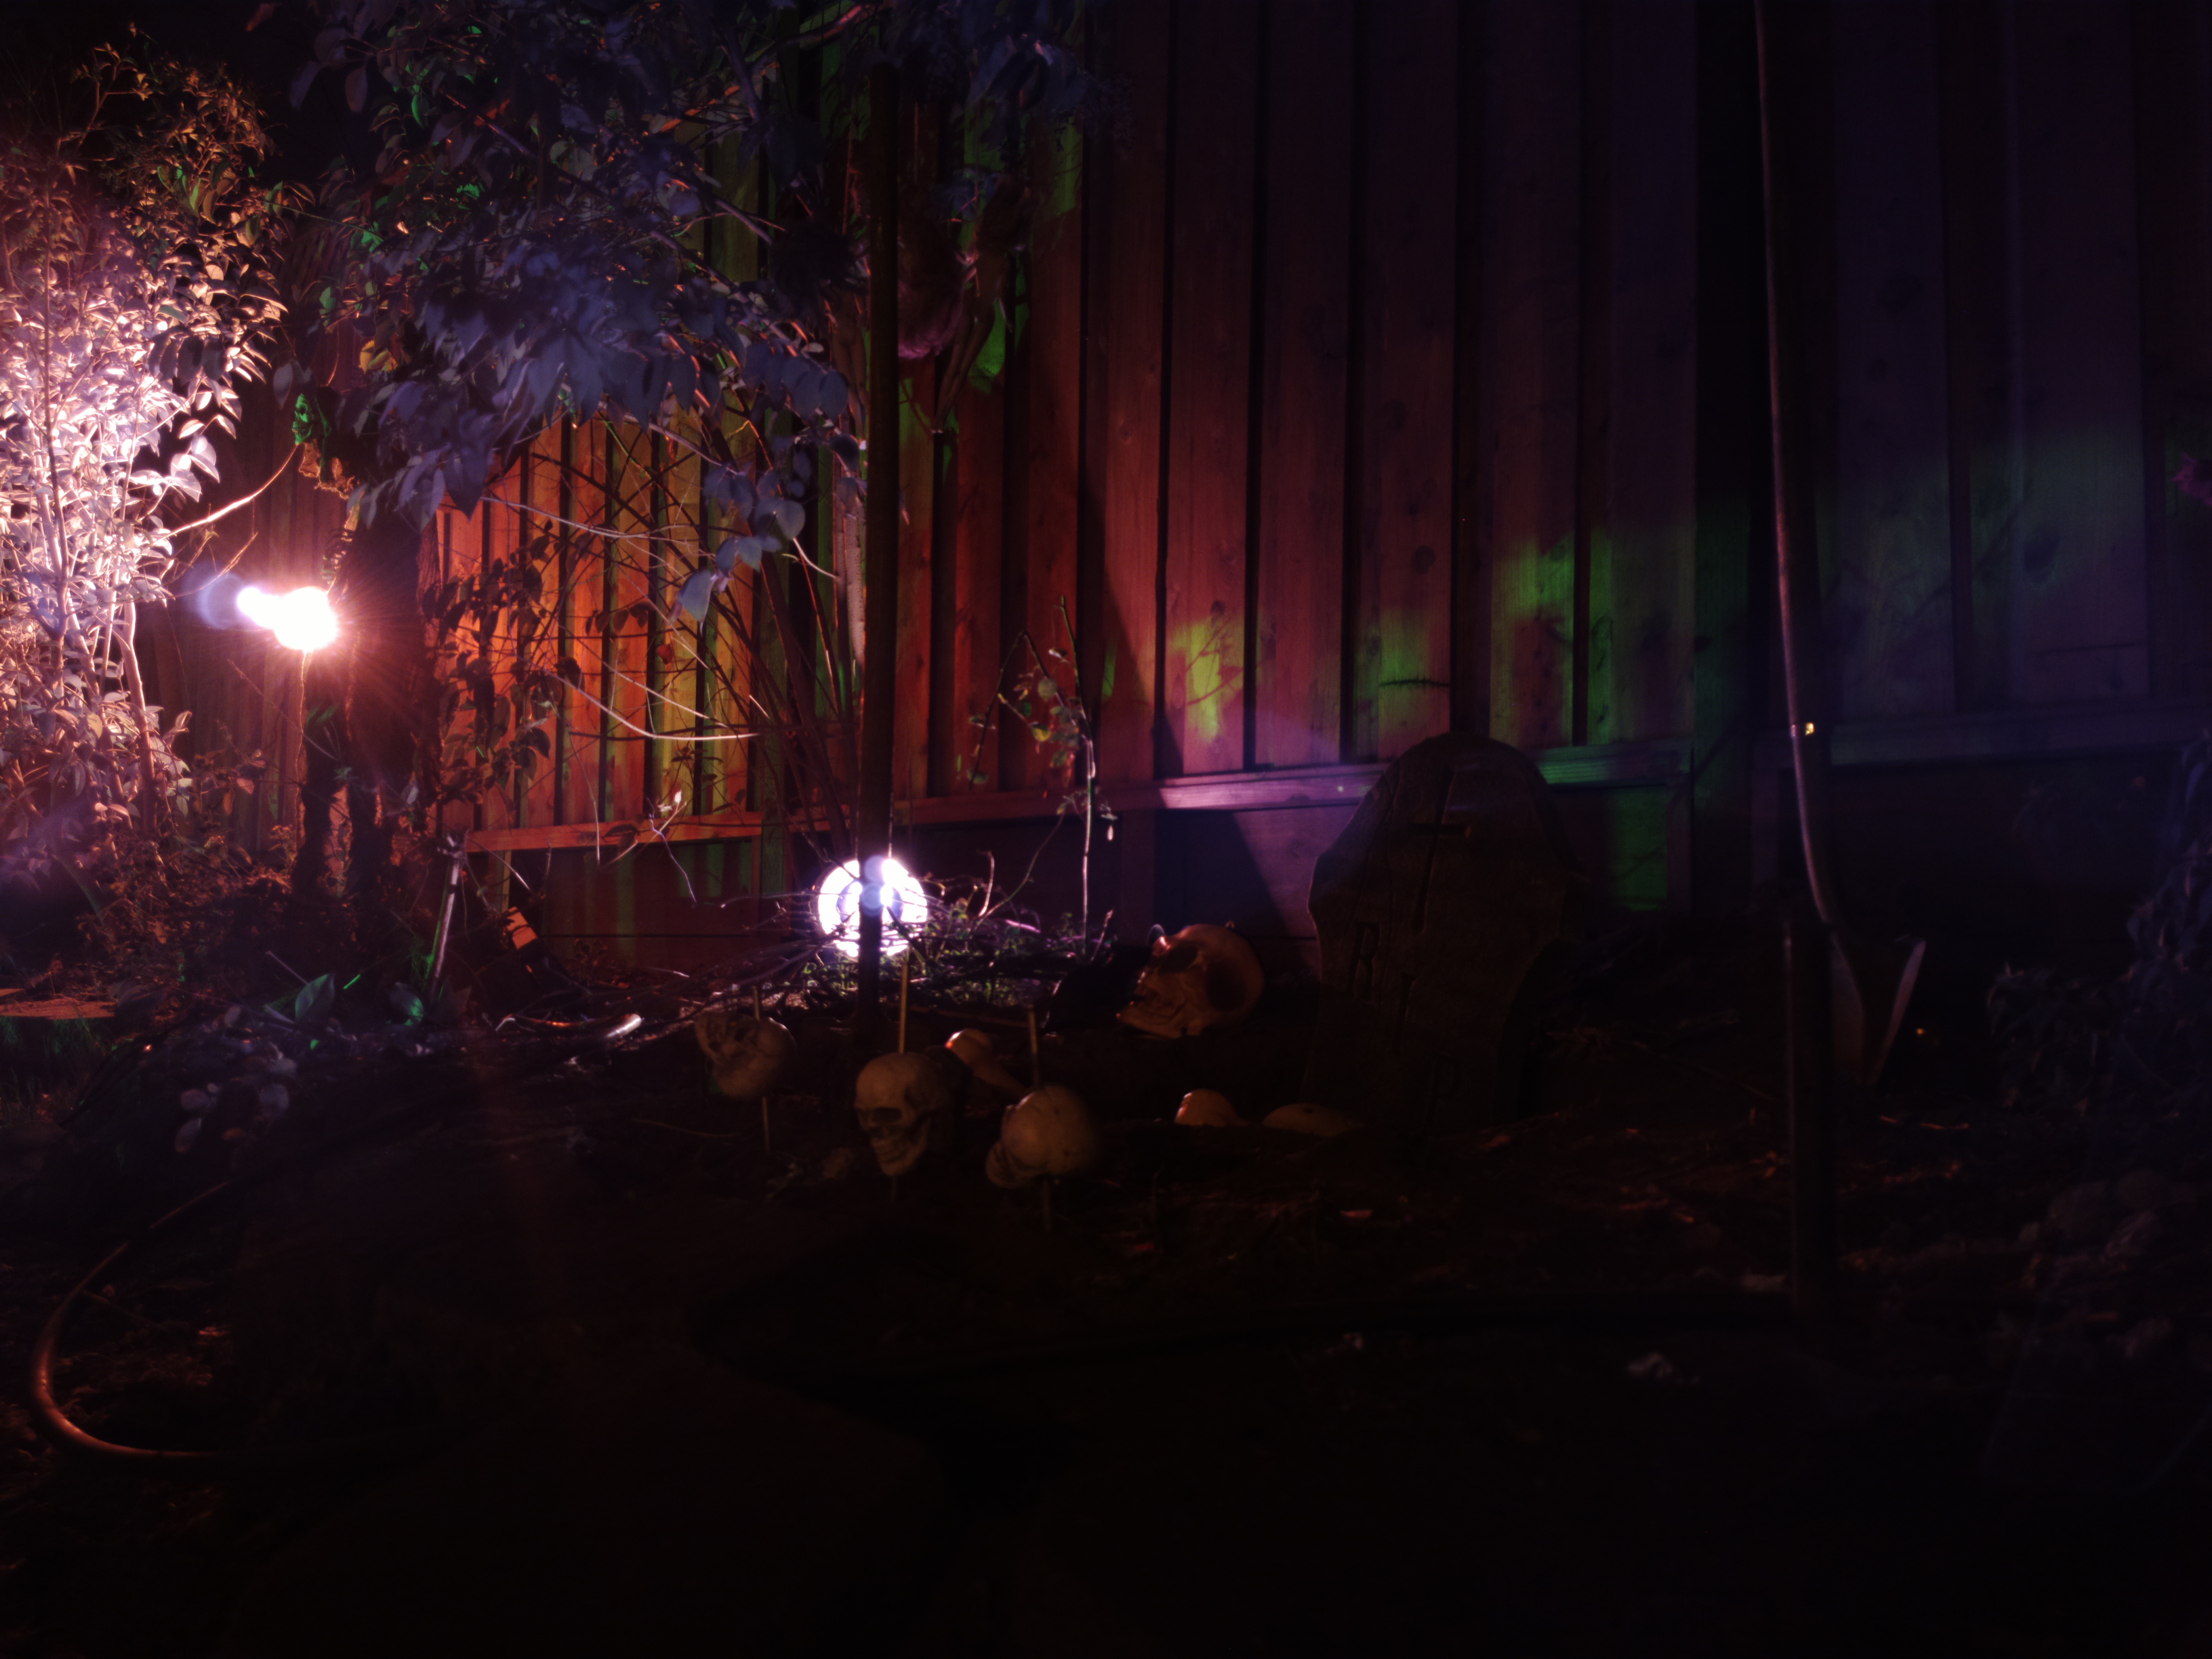
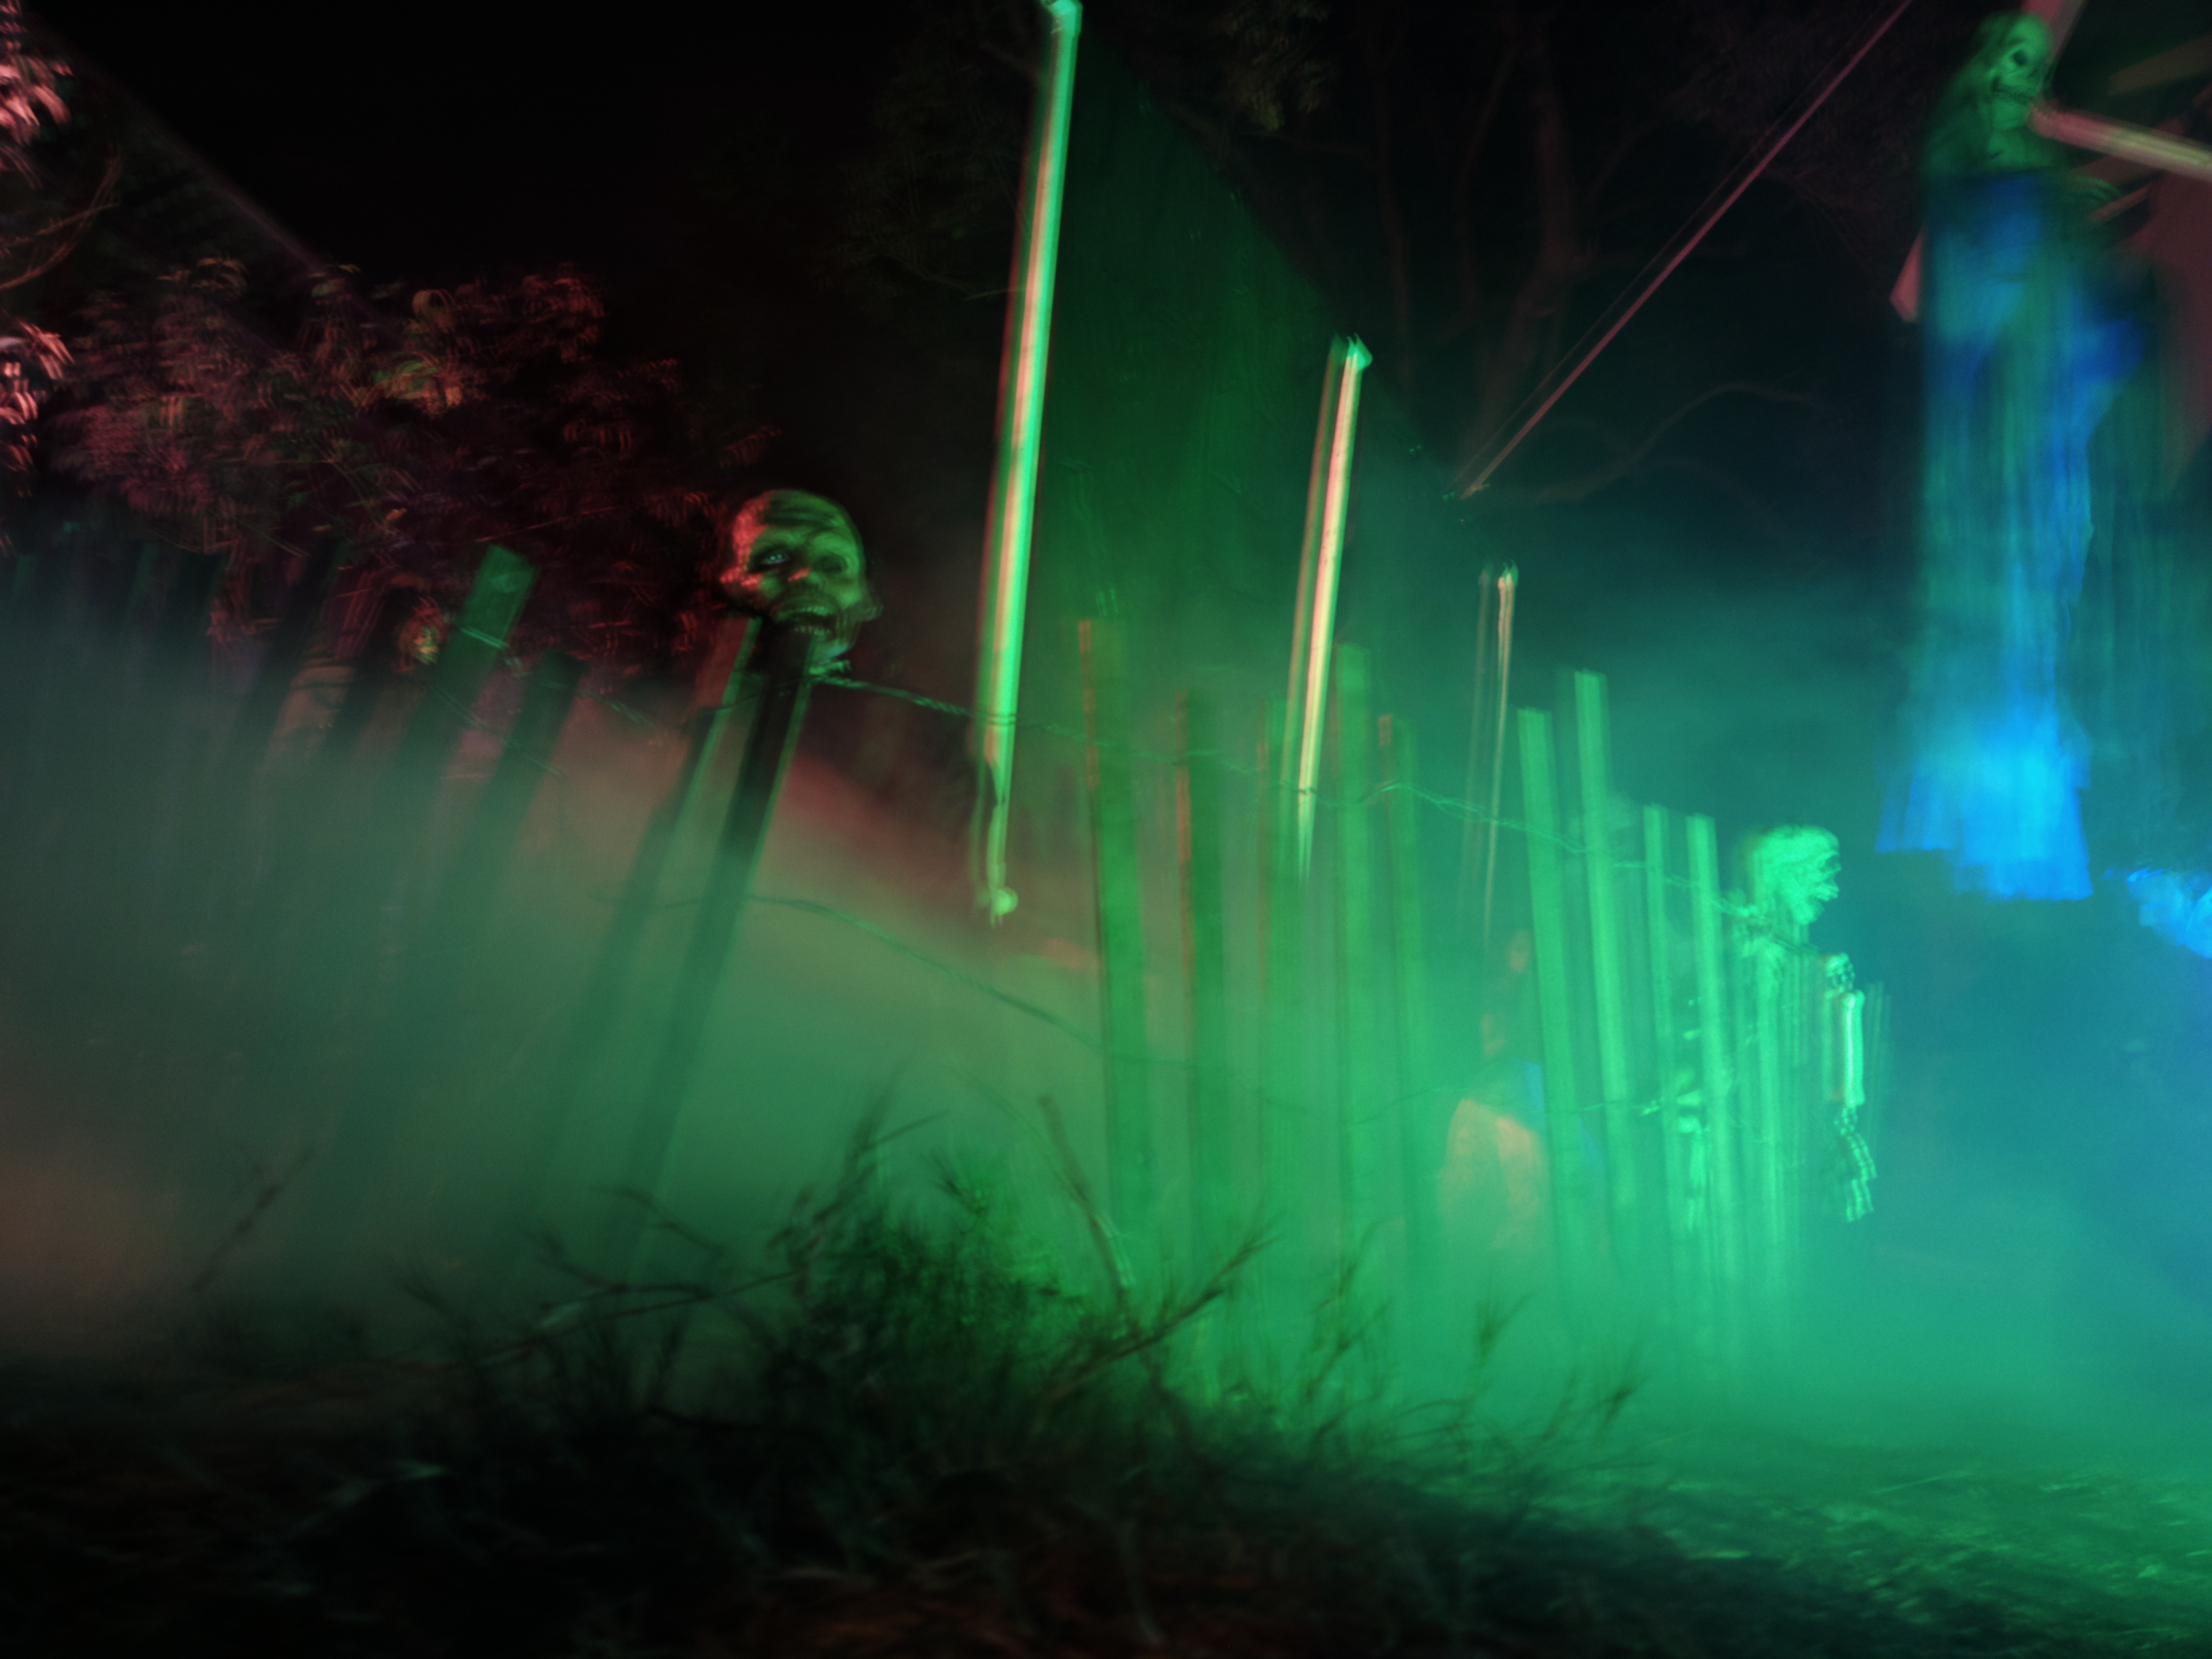
As in previous years, I used a short two-foot tall wooden fence to establish a perimeter for the graveyard. This serves two purposes. First, it provides a pathway for visitors to follow, so they aren’t just meandering through the graveyard. That allows me to better control the experience and ensure that people don’t approach characters from the wrong side. Second, it gives a little protection to the characters, to discourage children from physically abusing the decorations. You can see the fencing here (as usual, click on any of these pictures for a larger version):

2013 Graveyard Fence

Along with the fence you can see one of the architectural improvements in the graveyard: a dividing wall down the middle of the area. This serves to block view of the characters on the second half of the graveyard when you are walking down the first half. I fashioned this out of several pieces of 1 inch PVC pipe and PVC pipe connectors at a total cost of about $20 at the local hardware store. PVC’s a great choice for this because it’s cheap, lightweight and easy to work with — all you need is a hacksaw. It’s also easy to setup and tear down. This diagram shows the dimensions and parts I used to build the frame:

2013 Graveyard - Partition

The curtain is made from two black plastic tablecloths, the type you can find at a party supply store around Halloween time. The ends are folded over and stapled together to make sleeves into which the top and bottom PVC pipes can slide. I think the tablecloths cost about $8 each. To be honest the whole thing looks pretty cheap in the daylight, but once it gets dark it doesn’t matter. Next year I’ll probably blacken the PVC with some spraypaint. If I can find some cheap cloth, I’ll redo the curtains as well. If you do build something like this yourself, make sure that the feet are pretty wide, and put something heavy on each to hold it down. Otherwise one good gust of wind will knock your wall right over!

As for new characters this year, I have this creepy-as-hell “deady bear”. For such a small guy, he is surprisingly disturbing. When activated, his head turns side-to-side, one eyeball lights up, he stabs himself with a knife, and he makes seriously unsettling noises. Like most of the characters he’s sound activated:

2013 Graveyard - Deady Bear

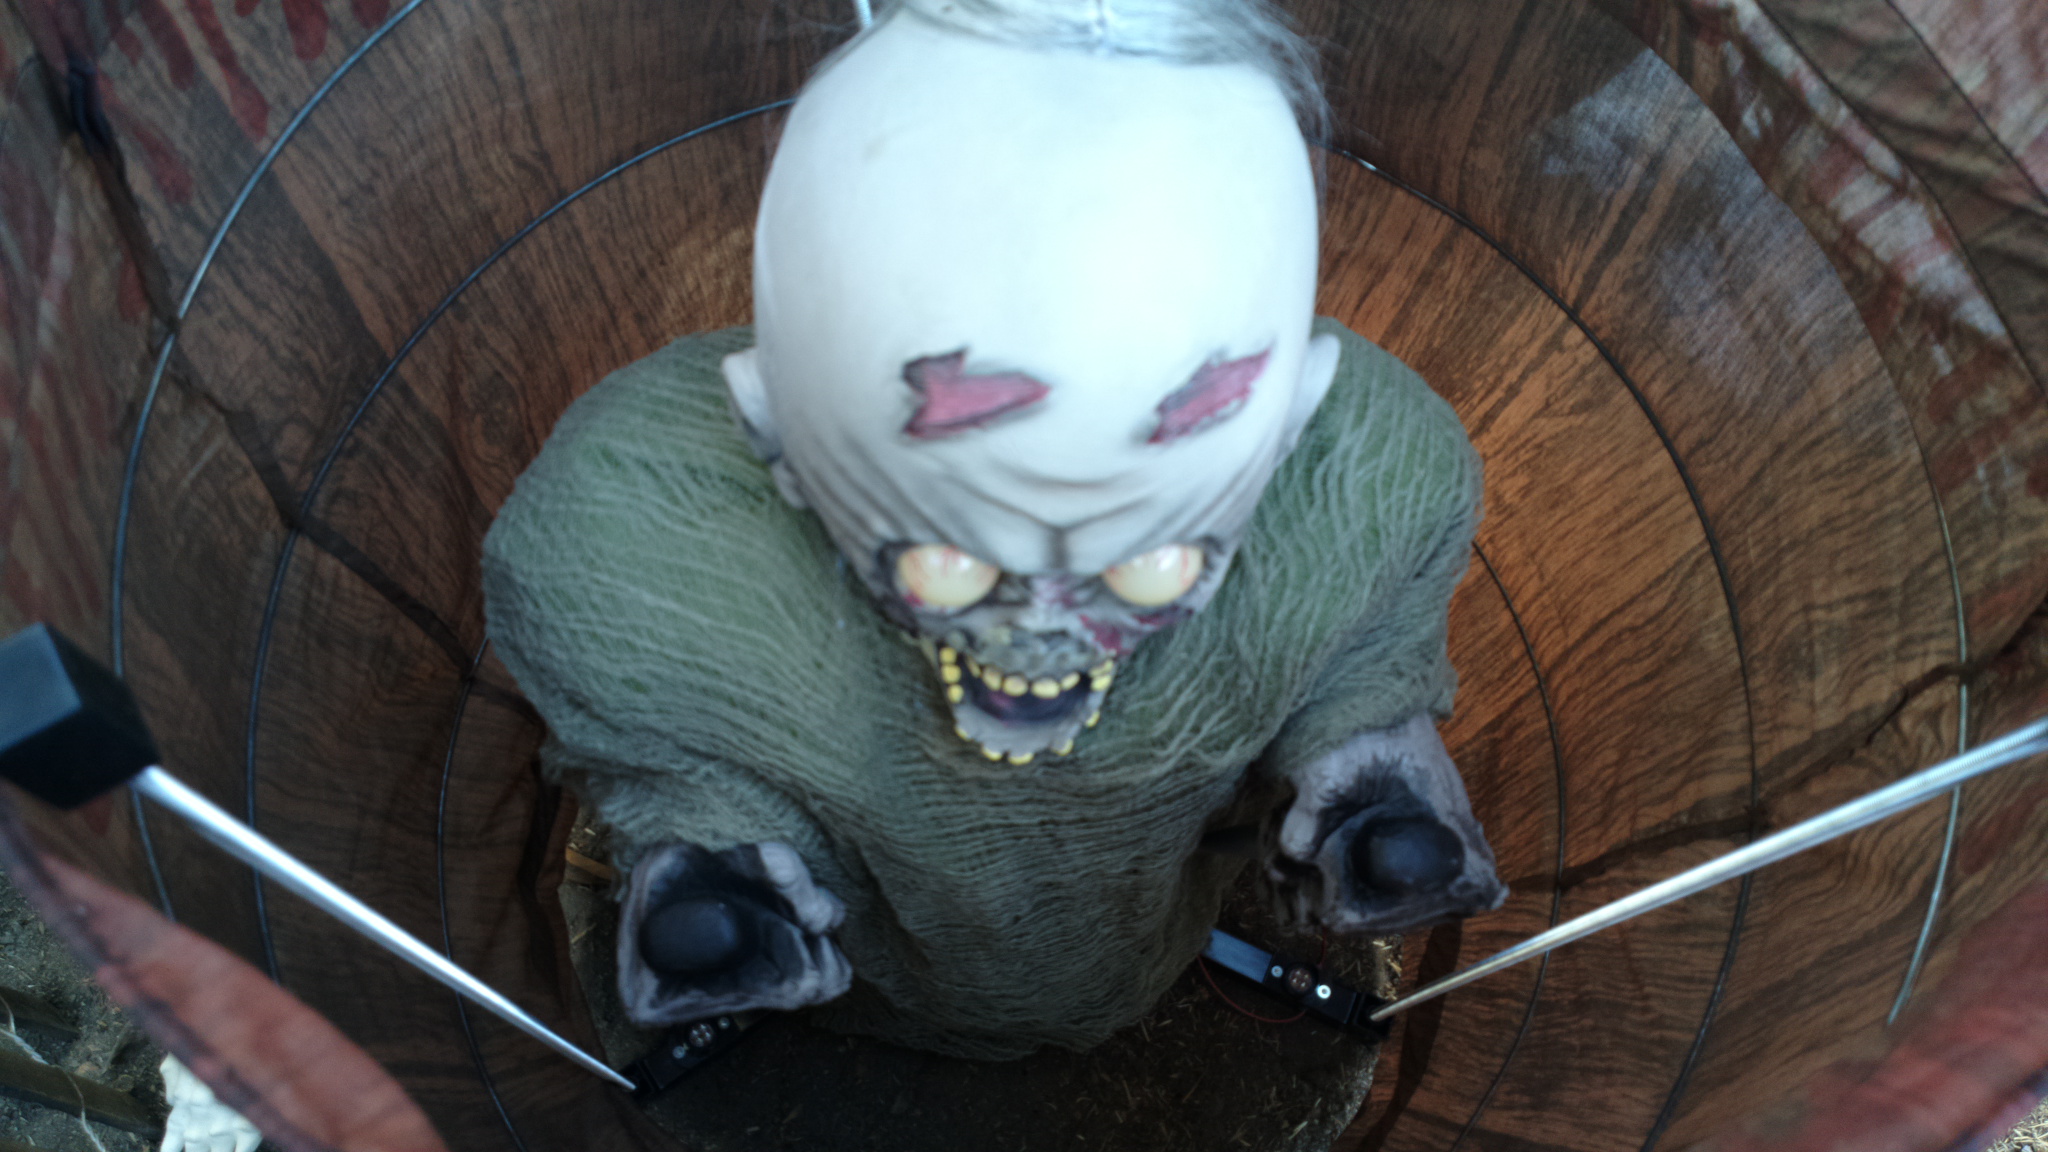
I’ve also got this “zombie barrel”, who lights up, makes spooky sounds and rises up out of his barrel when activated. To be honest although he’s big and was expensive, it’s not one of my favorite characters. He’s difficult to setup, and he moves too slowly to be really scary:

2013 Graveyard - Zombie Barrel

Unfortunately I don’t have a picture of the third new character — this black jumping spider. This guy is great because he moves quickly, and he’s hard to see since he’s black and starts at ground level. It’s very startling — perfect for somebody coming around a corner.

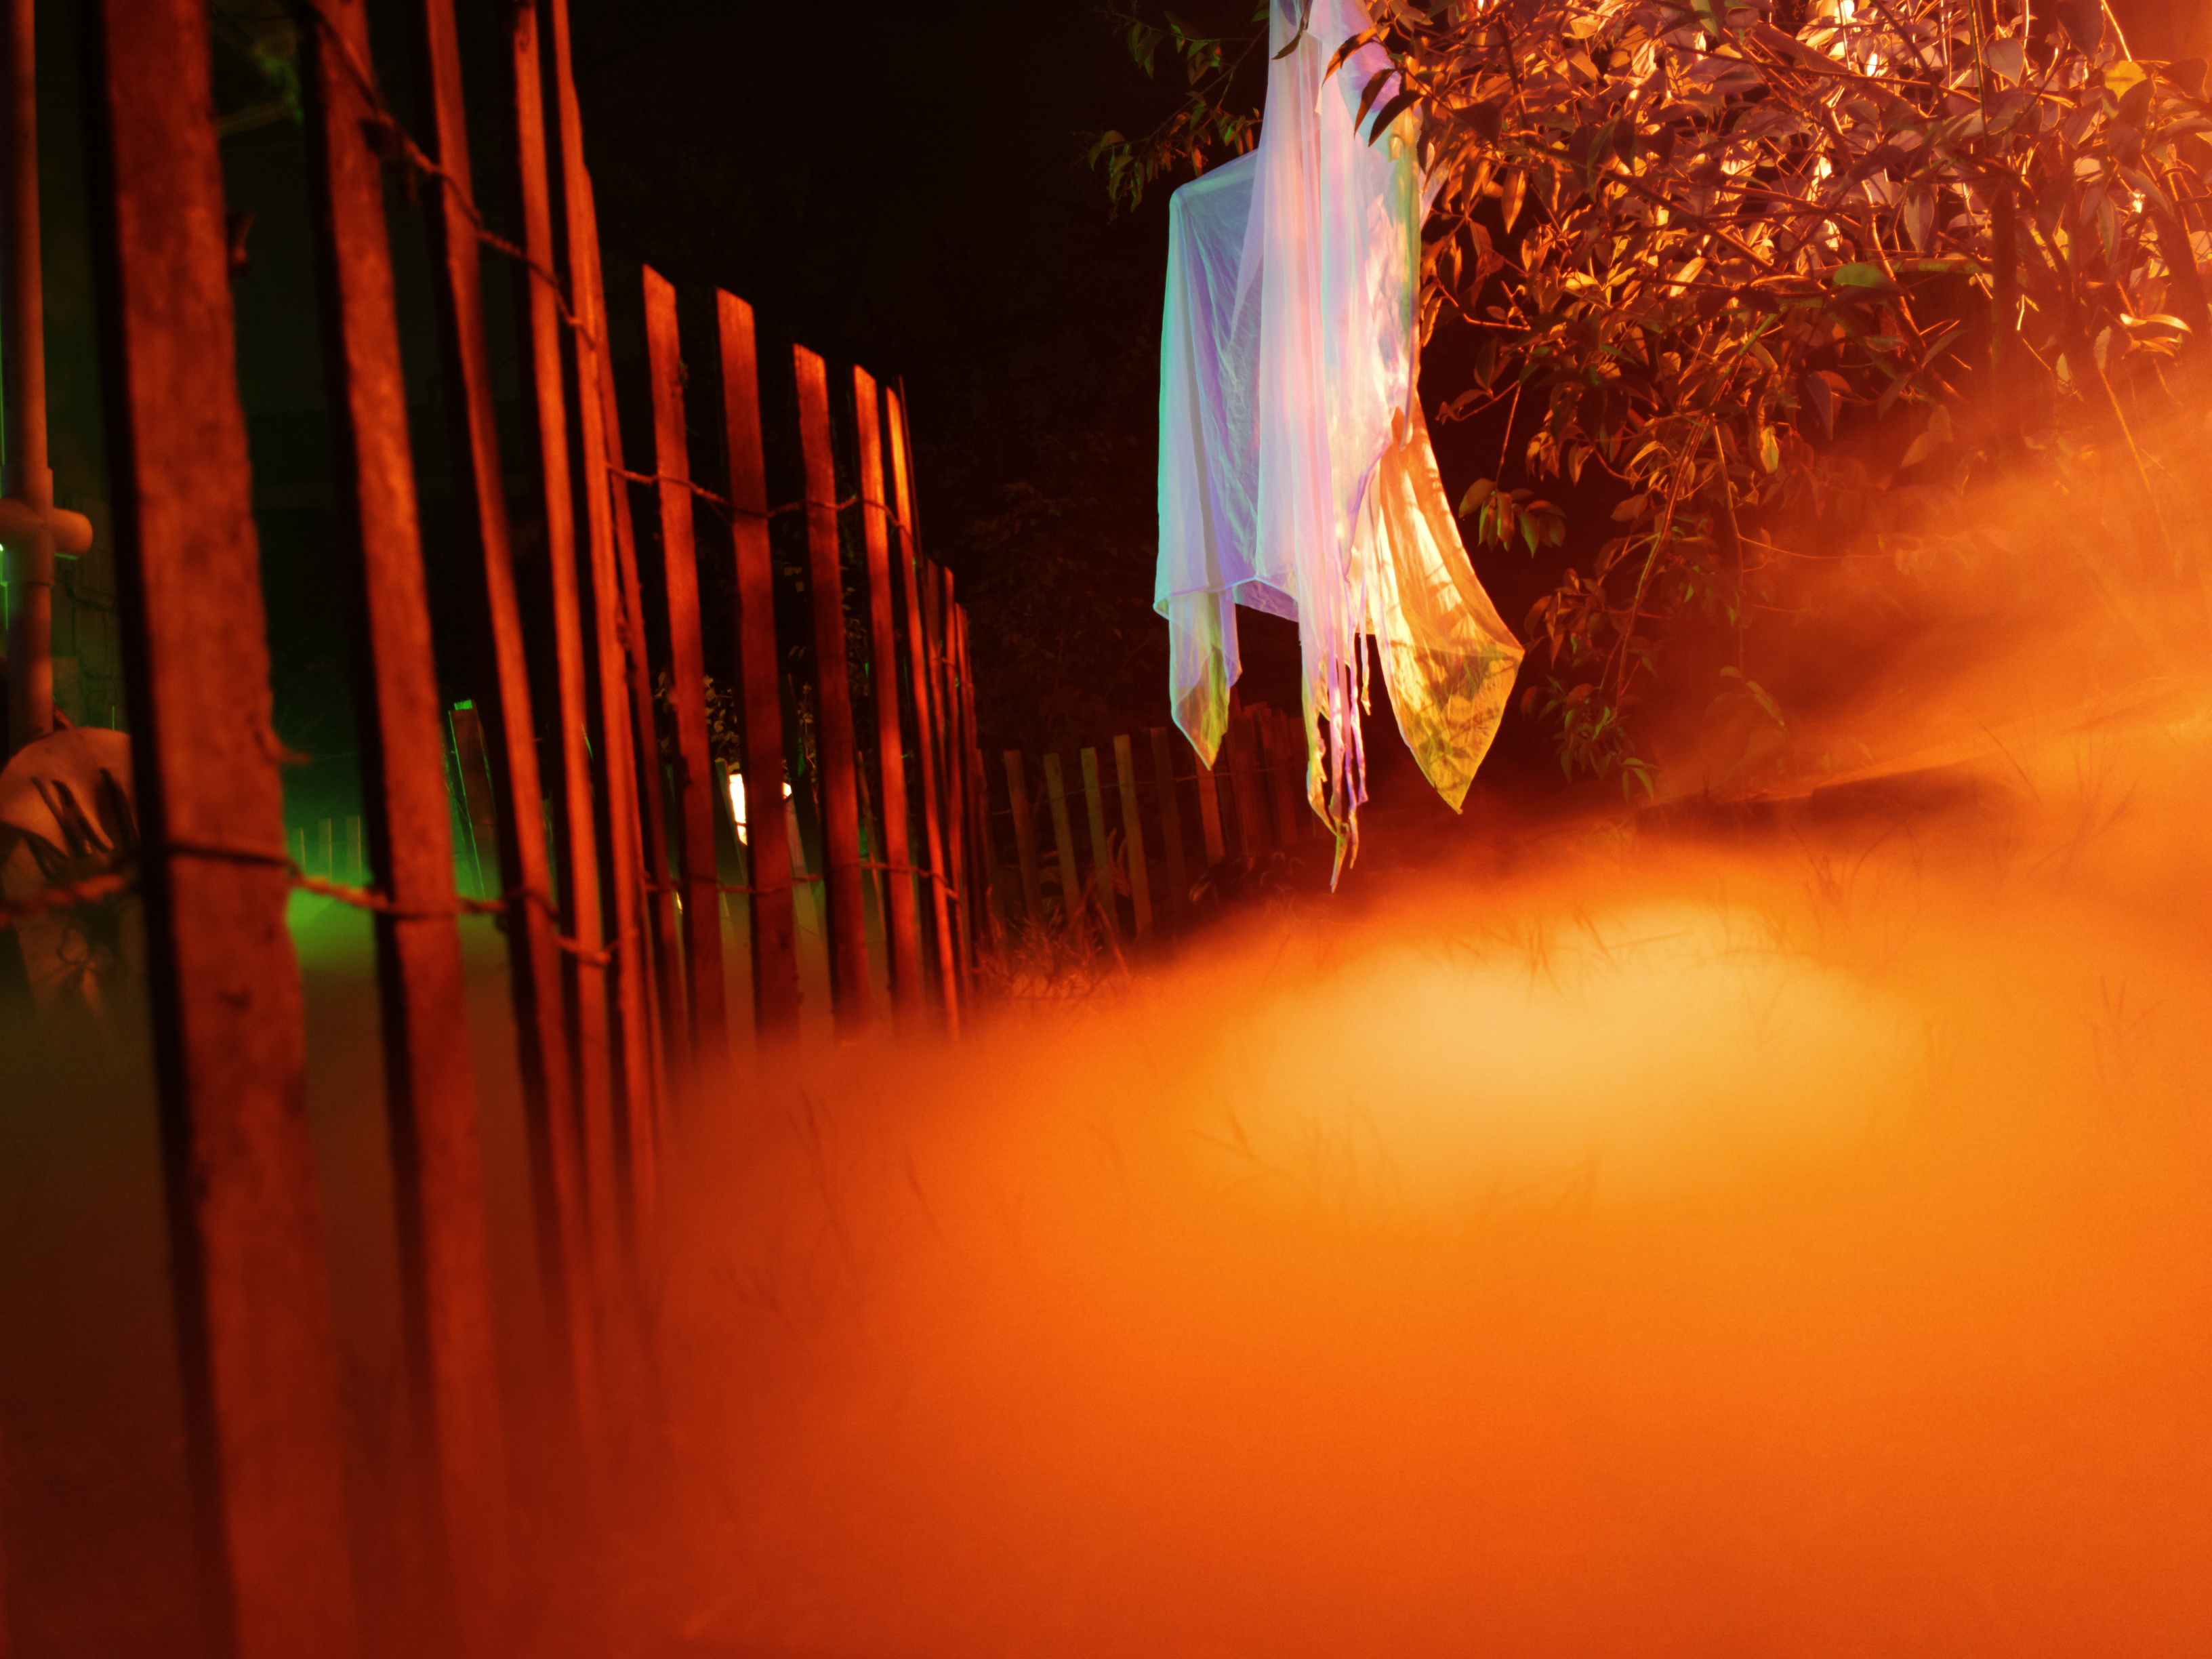
Besides the partition and the new characters, there was one other upgrade that I’m really pleased with: the flying phantasm. I’ve actually had this character for a couple of years, but usually he just hangs “lifelessly” over the path:

2013 Graveyard - Flying Phantasm

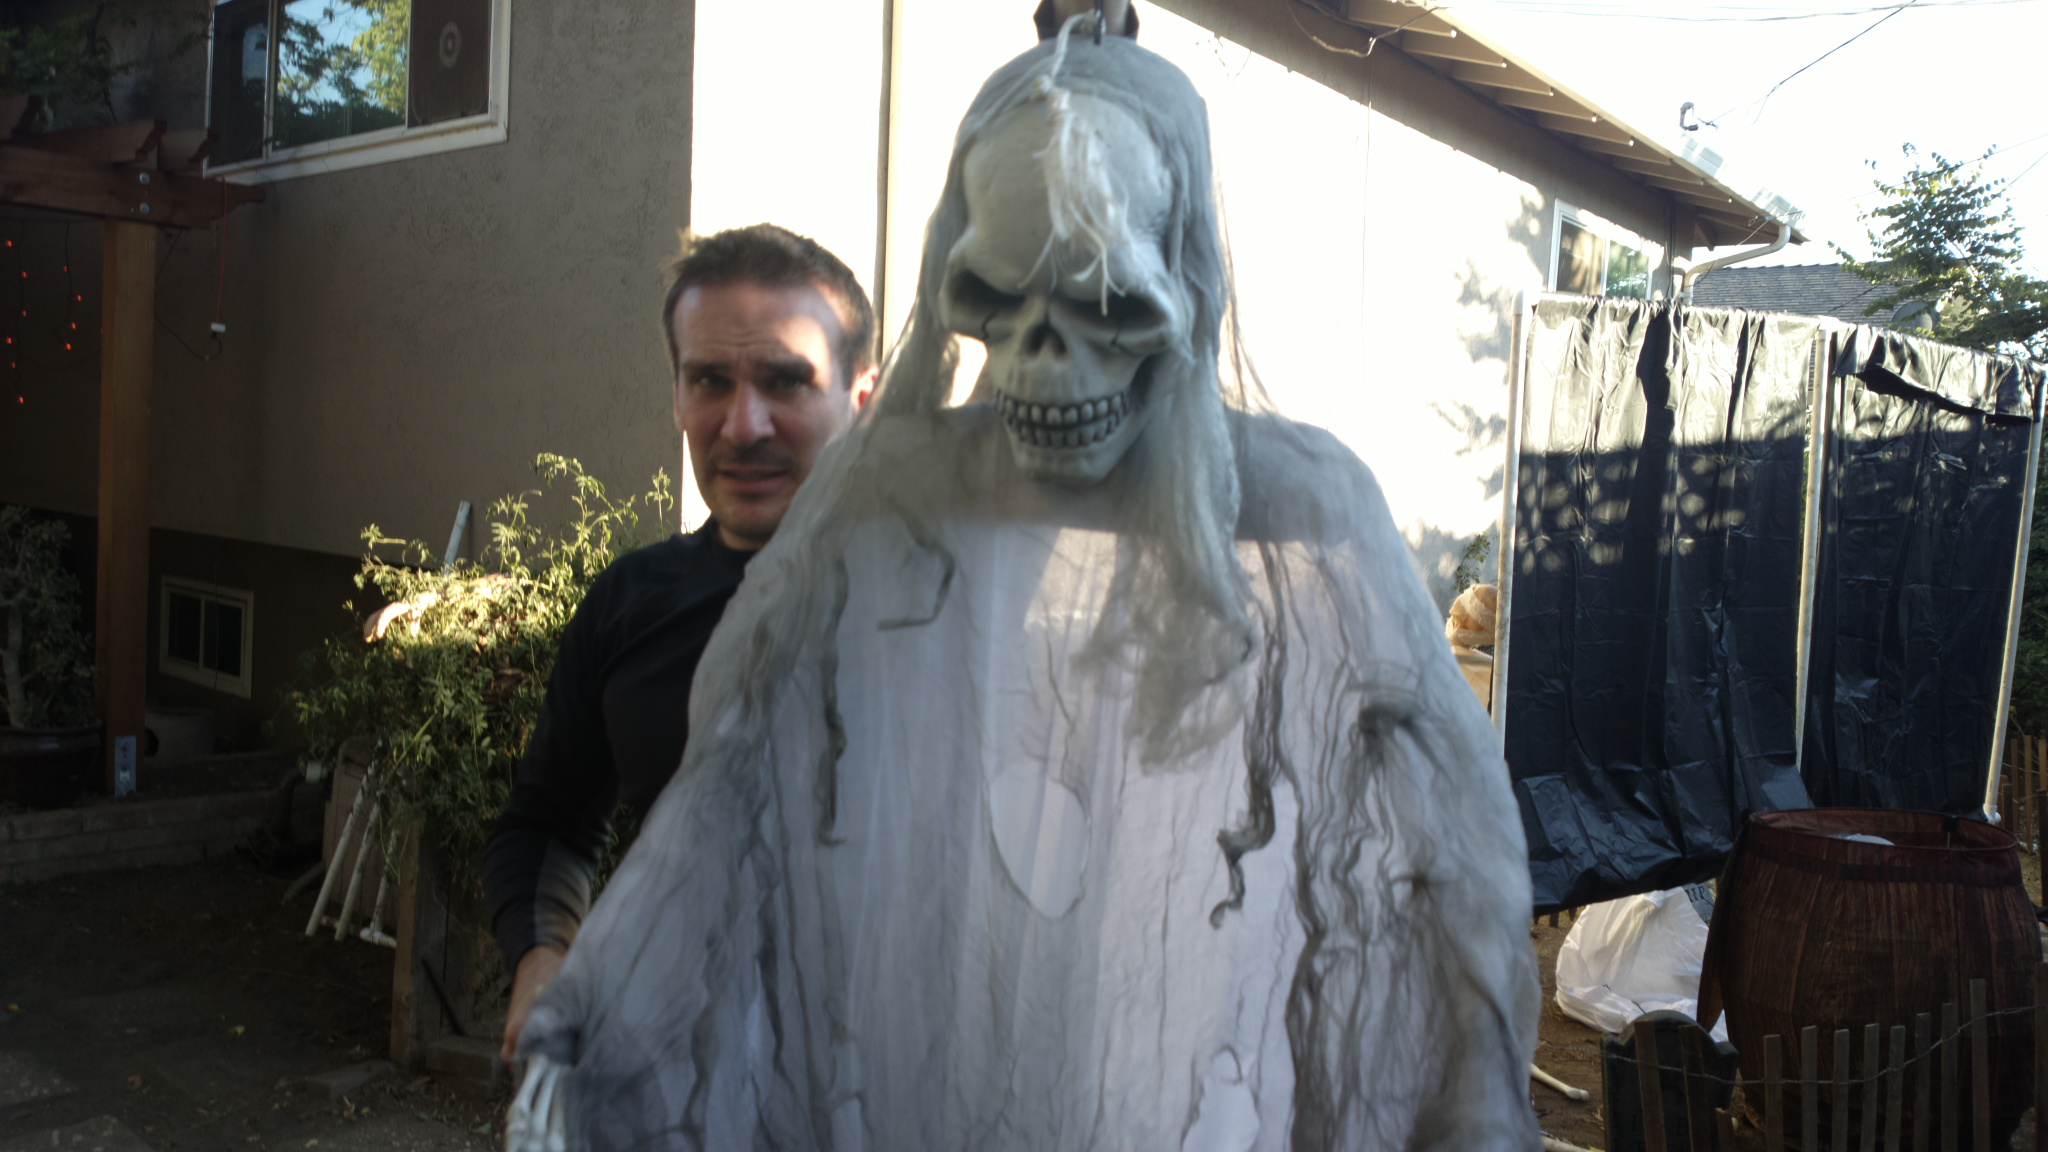
This year I ran a 1/4 inch rope from my second-story roof to the fence at the edge of our property, then attached the ghost to a cheap pulley that I hung on the line:

2013 Graveyard - Phantasm Pulley

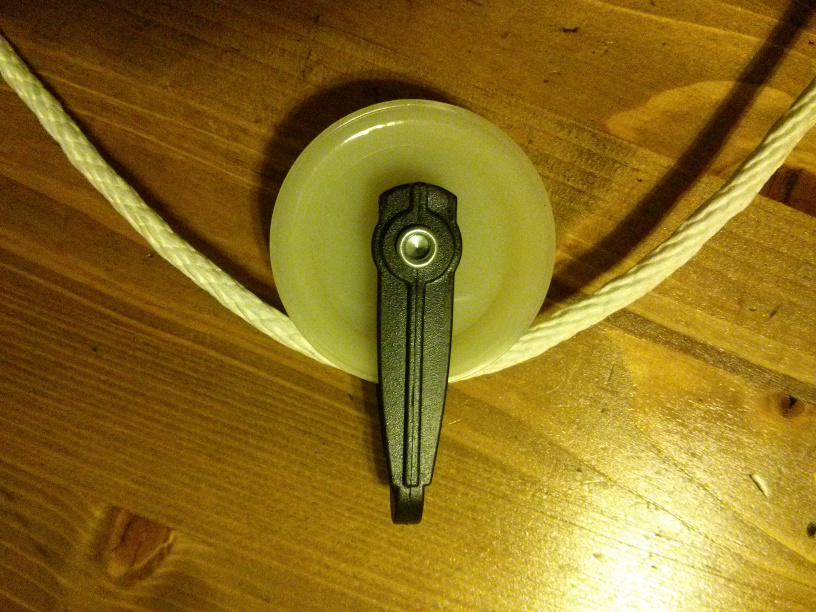
Once the line was taut, the ghost could “fly” down the line across the pathway, low enough that his tattered robe would brush against the head and shoulders of anybody walking by. Triggering the ghost was about as low-tech as it gets: somebody would watch from a second floor window behind the ghost and release him at suitable moments; a bit of string tied to his back allowed my cohort to pull him back up in preparation for the next run. After dark, the flying phantasm was a huge hit, even scaring some of the adults who went through the graveyard! Here’s a video of the daytime test run; you can see where I’ve got a bit of extra rope tied around the line to serve as a stop so that he doesn’t go too far:

That’s about it for new features this year. Overall I think this goes down as another success, but there are some things I’d like to improve for next year:

  • Get more foot activation pads! I cannot stress enough how critical these are. The sound activation on most of these characters just does not work very well, especially when people are creeping silently through (because they are too scared to make much noise!). One trick though: make sure the pads are covered up, otherwise they are a huge tip off that something is coming!
  • Improve the lighting! I have simultaneously too much and not enough light. The colored floods I’ve been using are too bright, which makes things less scary. But they also don’t provide enough light in the right places. For example, it was hard to see the “deady bear”. Next year I’ll use dimmer bulbs, and maybe get some of those little “hockey puck” style LED lights to provide target “up lighting” for specific characters. I’d love to hang one dim, naked bulb over the whole scene as well, that could just swing back and forth slowly — I think that would be really creepy looking.
  • Don’t forget the soundtrack! I have one of those “scary halloween sounds” albums that I’ve played in the past to good effect. I completely forgot to set that up this year.

Hope you enjoyed this post mortem! To wrap up, here are some pictures of the graveyard after dark — credit goes to my good friend Tim Murphy, who took most of the pictures used in this post, and who was a tremendous help in setting up the graveyard. See you next Halloween!

2013 Graveyard - Wide Angle

2013 Graveyard - Open Grave

2013 Graveyard - Orange Glow

2013 Graveyard - Spider

2013 Graveyard - Green Glow

2013 Graveyard - Zombie

2013 Graveyard - Zombie Barrel Up

Halloween 2011 Haunted Graveyard Post Mortem

Another year, another Halloween party. And another Halloween party means another Haunted Graveyard in the backyard! This year is my fourth attempt. You can see pictures of last year’s graveyard here. I got lots of compliments from the party guests for that effort, probably because it was a huge improvement over 2009 — of course, that just set the bar that much higher for this year!

The first step in setting up the graveyard was actually taken last year — the day after Halloween I hit the 50% off sale at the Spirit Halloween Superstore, so I picked up a few more characters and decorations at a huge discount. You’ll see pictures of the new guys below. One thing I was not able to find at the sale was a fog machine. In previous years I borrowed one from my sister-in-law, but I really wanted to have my own. So this year, a couple weeks before Halloween, I sucked it up and bought a few at regular price — expensive, but absolutely worth it!

So, once I had all my inventory assembled, the next step was to setup the perimeter. I used the same 2 foot fencing this year, as that seemed to work really well last year to direct traffic and avoid people tripping over cords. I think I ended up with a little bit more area inside the fence than I did last year (you can click on any of these pictures to see a larger version):

Next I started to populate the graveyard — these guys are just dying to get in there. First in was this great zombie. He lays flat on the ground, then pops up and makes creepy noises when people walk by. One thing I learned with this guy is that you have to put a heavy block on the front of the stand — otherwise he’ll catapult forward when the latch releases, because the spring is really powerful:

Next I added the mummy and the animated ghost guy, you probably recognize them from last year:

And of course my favorite space-filling decoration: Styrofoam tombstones:

OK, now things get interesting. Like I said, we had some trees trimmed back over the summer, so I didn’t have as many places to hang decorations. So this year I strung a rope from a hook screwed into the eaves of the house down to the fence on the other side of the yard. Then I positioned some of my characters on the rope. I tied knots in the rope to keep the characters from slipping down the line. The guy in the middle is the same ghost I used last year, but the guys on the the ends of the line are both new this year:

I brought back the plain white masks too, I really liked the look of those last year. I moved them to the other side of the yard though, so they had a more prominent display:

No graveyard is complete without cobwebs of course:

Here’s a close-up shot of one of the new characters. He’s some kind of scary-looking ghost thing. He’s actually really tall, six feet at least. He doesn’t do any but look spooky, though, which is a little disappointing. I set up a purple flood light to shine on him:

Here’s a close-up shot of the giant light-up, inflatable spider that I borrow from my sister-in-law every year. He sits in the back of the yard, so he’s hard to see in most of the pictures here:

And here’s the second new character this year. This guy is awesome! He’s labeled the “flying animated reaper” or something like that, and his eyes light up, his wings flap (!!), in a really creepy, unnatural way, and he makes spooky noises. I got him for only about $30 on sale, and everybody loved him — definitely my favorite character this year:

And of course I had to bring back the Zombie Barbies from last year. This time I made tiny nooses for them and hung them from the fence, instead of leaving them on the ground, so they’d be easier to see. I put a small red strobe on them too:

Finally, of course, here’s the obligatory “action shot”. I love how the colored lights make the bushes look like they’re on fire! I assure you that’s just an artifact of the color management in my camera — nothing was actually burning!

All in all, I think this year’s graveyard was a great success. There’s still a lot of room for improvement though, and the pressure is really on now — I think the kids that come to the party are getting braver faster than I am making the graveyard spookier at this point, so if I don’t step it up next year, they’re all just going to laugh at me!

A couple final thoughts and suggestions for those who might stumble across this page while planning their own Halloween decorations:

  • If you’re thinking about buying a fog machine, go big. The small machines are a waste of money. They just don’t generate much fog.
  • On the other hand, I highly recommend the Low Lying Fog Machine. This is a regular fog machine with an extra compartment for ice, which cools the fog as it comes out, so the fog stays low to the ground. It works like a champ! The only problem is the cycle time is pretty long — between 2 and 3 minutes — so you might want to get more than one machine and set them to fire at staggered intervals.
  • Make sure you take advantage of the “day after” sales! I picked up a huge new “zombie barrel” character for $75, and a second low fogger for just $35 this year.

I can’t wait for next year! I need to figure out a way to rig a zipline, so I can make that tall ghost guy come flying at my victims guests, and some kind of curtain to separate the graveyard, so you can’t see the whole thing at once. Hope to see you there!

Halloween 2010 Haunted Graveyard

Every Halloween, we host a party for family and close friends. This tradition was actually started by my mother-in-law many years ago; when we inherited her house a few years ago after her passing, we inherited the annual party too.

As the man of the house, it became my responsibility to setup the Haunted Graveyard in the backyard. 2010 is my third attempt. The first, in 2008, was an unmitigated disaster, although in my defense I only learned that I was responsible for it a few hours before the party, and since I had never done it before I had no supplies. I was spared utter humiliation only because the audience at the time was only 3-5 years old. Last year was much better and received many compliments, although in my opinion it still left much to be desired.

Here are some pictures of the construction of my 2010 Haunted Graveyard.

The grassy area in the backyard is about 15 feet wide and 30 feet long. This year I decided to use some 2 foot tall fencing I have to mark out an inverted U-shaped pathway through the graveyard, with the characters and decorations inside the U, on the sides, and on the opposite side of the path past the end of the U. This worked better than the open area I had last year, because it kept people moving along, so more people could experience the graveyard more quickly, and it helped keep the kids from hitting the characters in the graveyard.

I bought the fencing at the hardware store a few years ago and store it in the side yard, so it has a great weathered, run-down look, with some of the fenceposts missing. It really helps set the tone.

With the fencing all laid out it was time to bring in the decorations. First was a hanging ghost guy. He’s supposed to light up and make weird noises, but after a year in storage he had stopped working. He still looks good though, so I decided to use him.

Next was a standing mummy with light-up eyes that makes creepy noises. I got him cheap the day after Halloween last year, but I hadn’t tried him out until now. I think he worked pretty well. He didn’t stay in that position though, as you can see in later pictures. I also brought out our collection of tombstones. These are great because they fill a lot of space, and with appropriate lighting on them they actually look pretty spooky at night. They’re just made of styrofoam, so I used tent stakes behind them, with the hook actually digging into the foam, to hold them up.

Then I put in an animated ghost guy with light-up eyes and, of course, creepy noises. He’s sitting down in this picture, between the mummy and the tombstones. Behind the far fence, past the mummy, you can just make out the yellow eyes of a giant inflatable spider that I borrow from my sister-in-law for the event.

My 16-year-old daughter helps me set up the graveyard. Here we’ve put some cobwebs on the fence, for ambiance.

We also put some plain white masks in the bushes on the left side. Those turned out really well, since they are just featureless, eyeless faces. With a blacklight behind them they glow in a very eerie way too. And, they were the cheapest item out there, at just a couple bucks each.

The next addition was a pop-up zombie character, on the right hand side. Hard to see since he’s laying down in this picture. You can see the mummy in a new position further back too. That’s still not his final resting place (ha!) though.

Everything’s in place here. The mummy has been moved, again, to the right side of the graveyard. The animated ghost is standing up in this picture so he’s easier to see.

Here’s a picture of the graveyard after dark. There’s a fog machine in the back, making the smoke you see. The yellow glow in back is from the giant spider. The blue glow on the left is from the masks in the bushes.

A couple details are hard to see in those pictures, but I was really pleased with how they turned out so I got close-up shots of them. First is a collection of zombie Barbies. I got the idea here, which I must have found via Reddit. It’s really easy to make zombie Barbies — just grab a bunch of old Barbie dolls (my 7 year old had about 50, so she was happy to sacrifice a few for the cause), spray paint them white, then use a Sharpie to blacken the eyes and make scars. Everybody agreed that the Barbies were super creepy:

Next are these little skulls. These were just some cheap styrofoam skulls that came in a multi-pack of “graveyard stuff” from the Halloween super store. Last year I just arranged them around the tombstones, but this time I got a little more creative.

I also really liked this flying ghost. He’s attached to a cord that’s stretched taut between a tree and our house. He moves back-and-forth along the cord, making weird noises as he goes.

Finally, here’s a shot of one of the creepy masks I mentioned. Remember, this is just a $3 mask and a black light. Hard to beat that bang-to-buck ratio!

Here’s the obligatory “action shot” of the graveyard from the party. You can just make out my daughter in the back. She likes to watch the kids go through the graveyard, and she makes loud noises now and then to trigger the sound-activated characters, if the kids aren’t noisy enough themselves.

If success is measured by the number of kids that are too scared to finish walking through the graveyard, or who refuse to go into the backyard afterwards, then this year’s graveyard was a smashing success. But there’s still plenty of room for improvement. Next year I need more lights, to better highlight some of the characters. And I need some kind of curtain or partition down the middle of the central area, so that you can’t see what’s on the right side of the graveyard as you’re walking on the left side, maybe something like this wall of fog. Last, I think I can do more with the zombie Barbies — perhaps a zombie Barbie mansion, complete with a partially eaten Ken?

Good thing I have a year to plan!